The Benefits of Home Vermicomposting
Share
The Benefits of Vermicomposting at Home
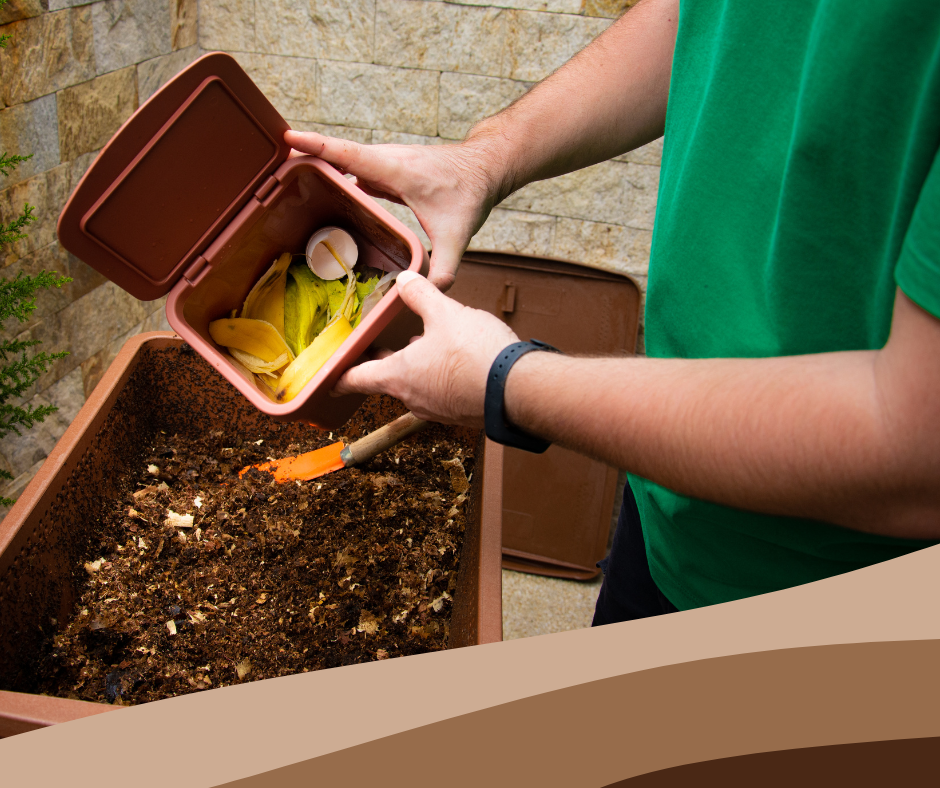
Composting might sound like something complex for farmers or gardeners with lots of space, but vermicomposting—or composting with worms—is a fun and easy activity to do at home, regardless of how much space you have. What a perfect way to reduce kitchen waste and repurpose cardboard and paper, all while creating a nutrient-rich compost for your plants and garden. Here’s why we think you should give vermicomposting a try, along with a few tips on how to get started.
🪴 Why Vermicomposting?
Vermicomposting uses worms to break down food scraps and other organic materials into worm castings—a natural, nutrient-rich fertilizer that you can use to boost your plants and garden. Here are some of the key benefits:
- Reduces household waste: Worms can eat up to half their weight in food each day. That’s a lot of garbage diverted from landfills!
- Creates a high-quality compost: Worm castings are known to improve soil health and help plants thrive. They can help improve your soil structure, help retain water, and give your plants a stronger root system, among other benefits.
- Odor-free: When your worm bin is properly managed, vermicomposting doesn't smell. It has a nice earthy scent.
- Great for all spaces: Vermicomposting is beneficial for the largest farm or the tiniest homes, classrooms, work spaces, or you can even keep it under the kitchen sink.
- Teaches sustainability: It’s a fun and educational way to get people involved in eco-friendly practices.
🪱 Choosing the Right Worms
Not all worms are created equal when it comes to composting. The most popular choice is the Red Wiggler (Eisenia fetida). They thrive in shallow bins, reproduce quickly, and are very easy to care for.
If you have a larger bin, we suggest using a mix of Red Wigglers and European Nightcrawlers. This gives a good balance of top and bottom composters. The European Nightcrawlers prefer to live deeper in the soil, typically at the 6-12 inch or deeper level, while the Red Wigglers will stay closer to the top of your bin. A nice balance to ensure efficient use of materials. Teamwork makes the dream work!
We have composting worms available for both shipping and local pickup.
🏠 What Type of Worm Bin Should You Use?
You don’t need anything fancy to start vermicomposting. Here are a few system options:
1. Plastic Storage Bin
A basic option is a lidded plastic tub with holes drilled for air flow. Add moistened bedding like shredded newspaper or coconut coir.
2. Stackable Tray System
These are easy to manage and allow for continual composting. As one tray fills up, add another on top. Worms move upward, leaving castings below. You can find this option at many online retailers.
3. DIY Worm Bin
If you’re handy, you can build your worm bin! A simple wooden box with ventilation holes is a nice starter bin. Some people have repurposed used tires, coolers, or even old refrigerators! Just make sure your bedding can stay moist, it is well ventilated, and protected from pests.
3. Bag Systems
There are several compact flow-through bag systems available. The bedding, worms, and food go in through the top, and you will easily harvest worm castings from the bottom. These bins are perfect for small spaces and can be kept indoors or outside. Check out one of our favorite bins here.
🍎 What to Feed Your Worms
Worms love:
- Fruit and vegetable scraps (banana peels, apple cores, avocados, and melons)
- Coffee grounds and tea bags (no plastic or staples)
- Crushed eggshells (We recommend baking them first)
- Shredded paper or cardboard (non-glossy print, please)
- Small amounts of bread. Oats and pasta
Avoid feeding them:
- Meat, dairy, or greasy foods
- Citrus peels in excess
- Onion and garlic (in large amounts)
We suggest feeding your worms about once or twice a week in the beginning, just enough so they can finish before the next feeding. You’ll get a feel for how much food the herd can eat in that time and adjust accordingly. If you notice any odor, you may be overfeeding. Remember to bury the food about 1-2 inches below the bedding surface to prevent attracting unwanted pests.
🧺 Harvesting Your Hard-Earned Bounty
After 2–3 months, you’ll start seeing dark, crumbly worm castings in your bin. You can harvest these and mix them into potted plants or your garden soil. Your plants are going to thrive with this added boost!
We recommend mixing 80 parts soil with 20 parts worm castings when adding new plants or refreshing the soil in your potted plants/beds. You can also apply worm castings directly to the top of the soil at the plant base for an added nutrient boost or brew a batch of worm tea to use as a foliar spray/soil drench.
To wrap it up
Vermicomposting is a low-maintenance, Eco-friendly way to turn food waste into garden gold. Whether you're looking to cut down on trash, enrich your soil, or become more active in daily steps towards sustainability, keeping a small worm bin at home is a smart and simple solution.
Ready to get started? Grab some composting worms, set up that bin, and watch your scraps turn into soil magic!