Vermicomposting With Kids- Fun For The Whole Family!
Share
Hey there, young Eco-heroes!👧👦🏽
Did you know that worms can help save the planet? Yup, those little squiggly, wiggly creatures living in the dirt are actually one of the earths most amazing recyclers. Let's dig into the wild world of vermicomposting — a super cool (and a little bit gross) way to turn food scraps into garden gold! 💩🌿🪱
________________________________________
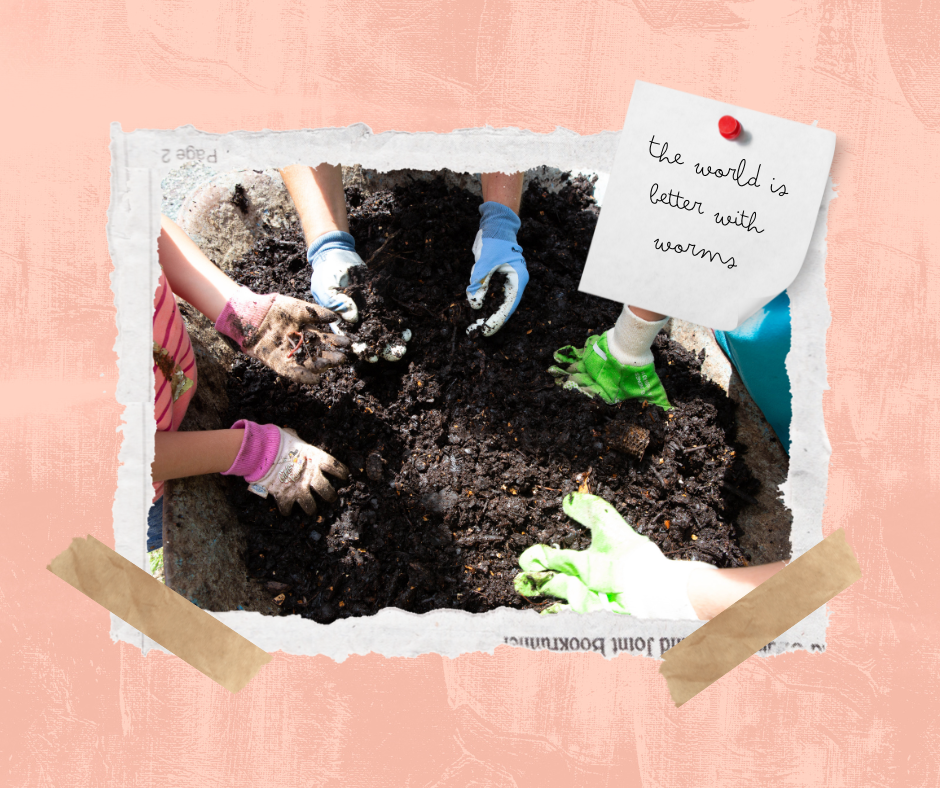
🐛 What is Vermicomposting?
“Vermi” means worm and “composting” means breaking down food and waste into compost. So, vermicomposting is just a fancy way of saying using worms to compost.
Instead of throwing your fruit peels, veggie scraps, cardboard and eggshells into the trash, you can feed them to worms and keep all of that waste out of the landfill. The worms will eat the scraps and poop out something amazing called worm castings — which are basically a super charged fertilizer for plants and soil!
________________________________________
🧪 Why is Vermicomposting Awesome?
✅ Less Trash – You’re keeping food and paper out of landfills. Way to go!!!!
✅ Happy Plants – Worm poop is full of nutrients that plants LOVE.
✅ Fun Science – You get to watch nature in action — in your own worm bin!
________________________________________
🧰 What You Need to Start
Here’s what you need for your Worm Hero Starter Kit:
•🪱 Red wigglers (the best composting worms on the planet)
•📦 A worm bin with holes for air (plastic or wooden). A dark plastic container works great. See if there is one out in the garage not being used.
•📰 Shredded newspaper or cardboard (for bedding). Don't use shiny newspaper print or heavily printed cardboard boxes.
•🍌 Fruit, veggie and paper/cardboard scraps (no meat or dairy please!)
•💧 A spray bottle to keep it moist like a damp sponge (not soggy)
________________________________________
🏗️ How to Build Your Worm Home
1. Line the bin with 4-6 inches of shredded cardboard and moisten until it feels like a wrung-out sponge.
2. Add your worms and let them settle into their new space. Keep a nightlight on for the first night while your new friends settle in. It will help keep them from exploring your room!
3. Bury a small amount of food scrap in the bedding on one side of the bin. Covering the food will help keeps pests from thinking your worm bin is an all you can eat buffet. .
4. Put the lid on and place it in a cool, dark place (not too cold or too hot!).
________________________________________
🤓 Fun Worm Facts
• Worms have no eyes — but they can sense light!
• They have 5 hearts! ❤️❤️❤️❤️❤️
• Worms breathe through their skin.
• Baby worms hatch from tiny cocoons.
• They don’t like spicy, salty, or citrus foods. (No tacos on Tuesday please) 🌮🌮🌮
________________________________________
👀 What to Watch For
Every few weeks, check your bin:
• If it smells bad: it could be too wet or have too much food. Add more bedding!
• Only add enough food that the worms can eat in a week, Leftover food gets smelly!
• If it’s dry: mist with a little water. Remember to keep the bedding like a damp sponge.
• After a couple of months: collect that worm poop (worm castings) and use them in your garden or plant pots. 🌼🍅🥬
________________________________________
🌎 Be a Worm Hero!
Starting a worm bin isn’t just fun — it’s a way for you to be a hero for the planet. Less waste, more plants, and cool science all in one wriggly package. So, grab your worms and start vermicomposting today!
________________________________________
🖍️ Bonus Activity:
Decorate the outside of your worm bin and name your worms!
Some of the best worm names we’ve heard are "Wiggly Wilbur", "Compost Carl", “Squirmy Worm” or "Vermicomposting Vera".
We hope you enjoyed learning a little bit about worms and how amazing these tiny creatures are. The world is a better place with worms! 🪱🌍🪱🌍